
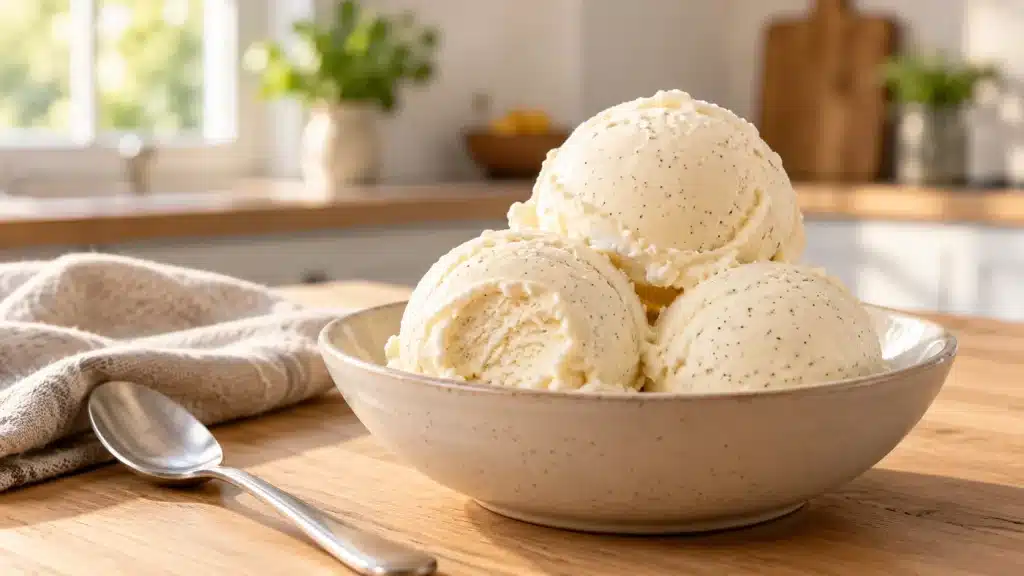
If you love homemade ice cream, these Ninja Creami recipes will make dessert time even more exciting. From classic vanilla and rich chocolate to refreshing fruit sorbets and protein-packed frozen treats, you can create delicious desserts with simple everyday ingredients.
The best part? You can customize each recipe to match your favorite flavors and preferences. Whether you’re trying the Ninja Creami for the first time or looking for fresh inspiration, this guide covers ingredients, step-by-step instructions, helpful tips, and seven delicious flavor ideas.
Let’s explore how to make smooth, creamy homemade frozen desserts right in your kitchen.
Table of Contents
Why You’ll Love These Ninja Creami Recipes
Growing up in a home where American comfort food met Moroccan flavors, I learned that the best recipes often start with simple ingredients and a little creativity. My mom loved adding warm spices to desserts, while my dad always appreciated a classic, comforting treat. Those memories still inspire the way I approach homemade cooking today.
That’s exactly what makes Ninja Creami recipes so appealing. You can start with a familiar vanilla base, add your favorite ingredients, and create something special.
Plus, you don’t need professional cooking skills to make a delicious frozen dessert.
Easy Ninja Creami Recipes for Beginners
If you’re new to the Ninja Creami, don’t worry. The basic process is surprisingly straightforward.
First, prepare your ice cream mixture using ingredients such as milk, cream, sugar, and vanilla. Next, pour everything into a compatible Ninja Creami container without exceeding the maximum fill line.
Then, place your container on a level surface in the freezer for at least 24 hours. Once the mixture freezes completely, install the pint correctly and select the appropriate processing program.
Within minutes, the machine transforms your frozen base into a creamy dessert.
If the mixture looks crumbly after the first cycle, the RE-SPIN program may help improve the consistency.
For even more homemade dessert inspiration, explore my collection of easy dessert recipes, where you’ll find sweet treats for family gatherings, special occasions, and everyday cravings.
Why Homemade Ninja Creami Ice Cream Is So Versatile
One reason I enjoy exploring easy Ninja Creami recipes is the freedom to experiment with flavors.
For example, you can prepare classic vanilla ice cream, add cocoa powder for a chocolate version, or blend strawberries into the base for a refreshing fruity treat.
Similarly, you can experiment with suitable dairy-free ingredients or protein-rich mixtures.
Another advantage is that you control the ingredients. You can choose the type of milk, adjust flavorings, and experiment with different sweeteners.
However, remember that sugar and fat play important roles in ice cream texture. Reducing either significantly may produce a harder or icier dessert.
You can also prepare several flavors ahead of time and keep your covered pints in the freezer.
With a few basic ingredients and some creativity, these homemade frozen desserts offer plenty of possibilities.
Ingredients for the Best Ninja Creami Recipes
The secret to delicious Ninja Creami recipes starts with choosing the right ingredients. Fortunately, you don’t need expensive or complicated products to create rich, smooth homemade ice cream.
A few everyday ingredients can make a wonderful frozen dessert, while simple adjustments allow you to explore different flavors.
Whether you prefer classic vanilla, indulgent chocolate, or refreshing fruit flavors, understanding your ingredients helps you achieve better results.
Essential Ingredients for a Creamy Ninja Creami Ice Cream Base
For beginners, I recommend starting with classic vanilla ice cream. It’s simple, delicious, and provides a versatile foundation for several flavor variations.
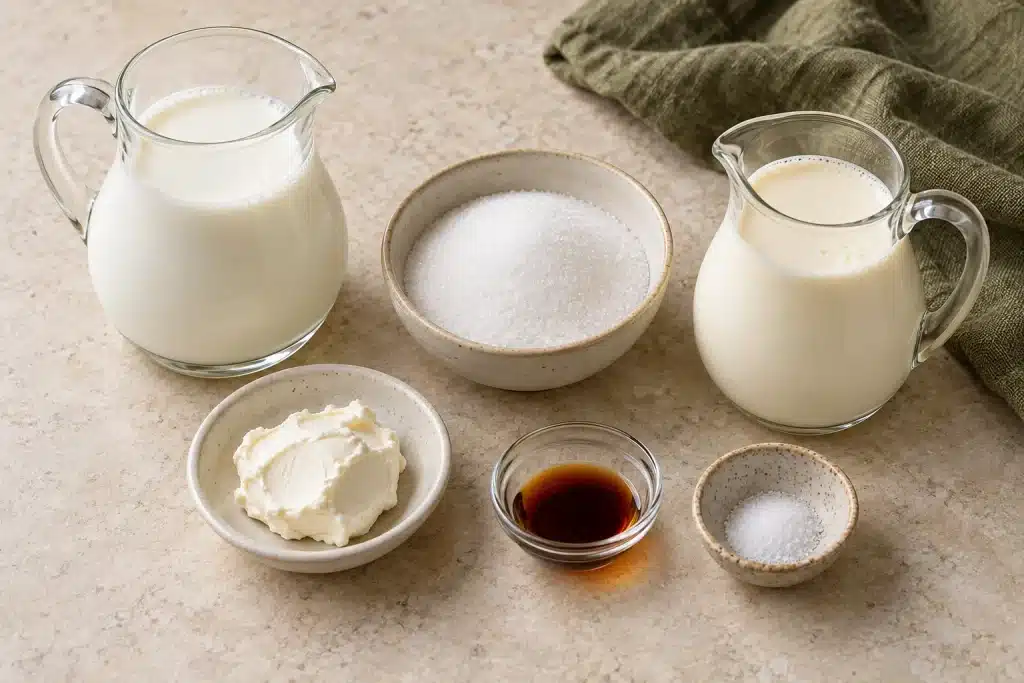
Here’s what you’ll need for one standard 16-ounce Ninja Creami pint.
| Ingredient | Amount | Purpose |
|---|---|---|
| Whole milk | 3/4 cup | Creates a smooth ice cream base |
| Heavy cream | 1/2 cup | Adds richness and creaminess |
| Granulated sugar | 1/4 cup | Adds sweetness and improves texture |
| Cream cheese, softened | 1 tablespoon | Adds body and richness |
| Vanilla extract | 1 teaspoon | Provides classic vanilla flavor |
| Fine salt | Small pinch | Balances sweetness |
Start by mixing the softened cream cheese and sugar until smooth.
Next, gradually whisk in the whole milk, followed by the heavy cream, vanilla extract, and salt.
Continue stirring until the mixture becomes uniform and the sugar dissolves.
Pour the mixture into a compatible Ninja Creami pint, keeping it below the MAX FILL line. Cover the container and freeze on a level surface for at least 24 hours.
This simple combination creates a delicious starting point for several homemade flavors.
Best Mix-Ins and Flavor Variations for Ninja Creami Recipes
Once you’ve mastered the basic vanilla recipe, experimenting with new ingredients becomes even more exciting.
Chocolate chips, crushed cookies, fresh fruit, peanut butter, and caramel can transform a simple base into something completely different.
Here are some delicious ingredients to try:
- Chocolate chips: Add mini chocolate chips through the MIX-IN program for little bursts of chocolate.
- Crushed Oreo cookies: Create classic cookies-and-cream ice cream.
- Peanut butter: Whisk creamy peanut butter into the liquid mixture before freezing.
- Vanilla protein powder: Use a balanced protein ice cream recipe to achieve better texture.
- Strawberry puree: Blend prepared strawberries into your mixture for a fruity variation.
- Caramel sauce: Add a drizzle to finished ice cream for extra sweetness.
For chocolate lovers, you can also explore my easy milk chocolate mousse recipe. Its rich chocolate flavor makes it another wonderful dessert to prepare when you’re craving something creamy.
Remember that the Ninja Creami isn’t a traditional blender. Always prepare ingredients appropriately and follow the operating instructions for your particular model.
With these simple additions, you’ll have plenty of inspiration for creating your own homemade Ninja Creami recipes.
How to Make Ninja Creami Vanilla Ice Cream Step by Step
Making homemade ice cream doesn’t have to be complicated. This classic vanilla recipe provides a wonderful starting point for beginners.
You only need six ingredients, about 10 minutes of hands-on preparation, and enough patience to allow the mixture to freeze completely.
The result is a rich, creamy frozen dessert that tastes delicious on its own or with your favorite toppings.
Step 1: Prepare and Freeze Your Ninja Creami Vanilla Ice Cream Base
Before you begin, gather the ingredients from the previous section.
Ingredients for one standard 16-ounce pint:
- 3/4 cup whole milk
- 1/2 cup heavy cream
- 1/4 cup granulated sugar
- 1 tablespoon softened cream cheese
- 1 teaspoon vanilla extract
- 1 small pinch fine salt
Step-by-step instructions:
- Soften the cream cheese. Place the softened cream cheese in a medium mixing bowl. Add the granulated sugar and whisk until smooth.
- Add the milk gradually. Slowly pour in the whole milk while whisking continuously. This helps incorporate the cream cheese evenly.
- Mix in the remaining ingredients. Add the heavy cream, vanilla extract, and salt. Stir until the sugar dissolves and the mixture becomes smooth.
- Fill the Ninja Creami container. Pour the prepared mixture into a compatible 16-ounce pint. Keep the liquid below the MAX FILL line.
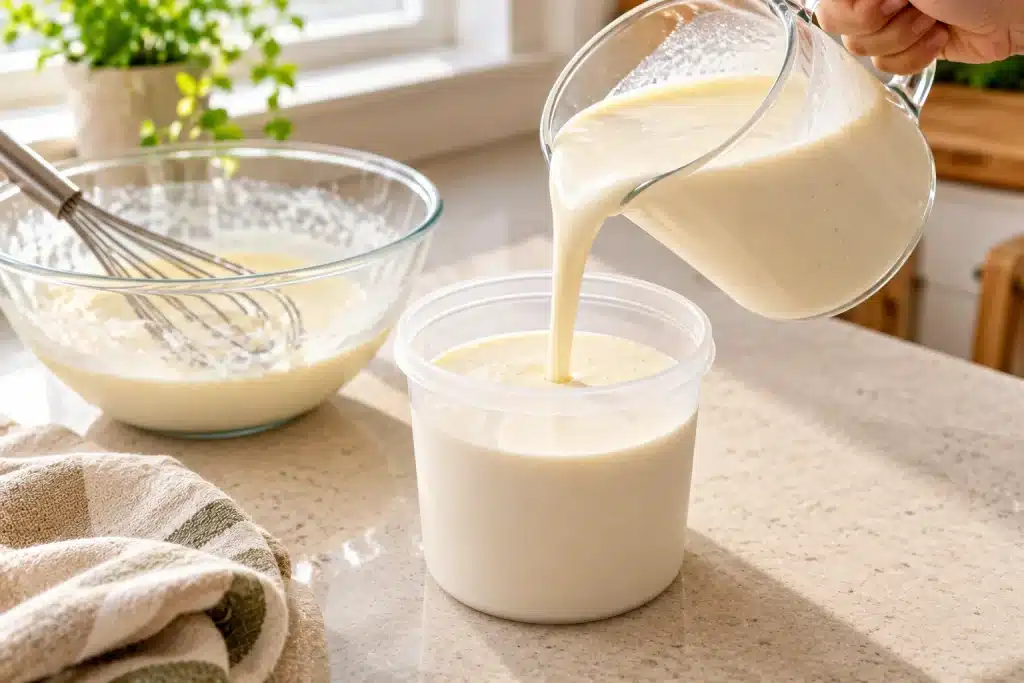
- Freeze for 24 hours. Secure the storage lid and place the pint upright on a level freezer shelf. Freeze for at least 24 hours before processing.
Although preparation takes only a few minutes, proper freezing makes an important difference.
The mixture needs enough time to freeze completely so that the appliance can process it as intended.
Step 2: Spin, Re-Spin, and Customize Your Ninja Creami Ice Cream
Once the vanilla base freezes completely, remove the pint from the freezer and take off its storage lid.
Check that the frozen surface is level. If it has developed a raised or uneven surface, follow your model’s instructions to make it level before processing.
Next, place the pint inside the outer bowl and attach the processing lid with the paddle correctly installed.
Lock the assembly into your Ninja Creami according to the manufacturer’s instructions.
Select the ICE CREAM program for this traditional dairy-based recipe.
Allow the machine to finish its cycle before removing the bowl.
If the ice cream appears dry or crumbly, select RE-SPIN if appropriate. However, avoid repeatedly processing ice cream that already has a smooth consistency.
For extra flavor, make a small opening in the center of the finished ice cream and add 1 to 2 tablespoons of crushed cookies or chocolate chips.
Then, select MIX-IN to distribute your additions.
Finally, scoop your creamy vanilla ice cream into a bowl and enjoy immediately.
If this is your first time using the appliance, I recommend reviewing the official Ninja CREAMi product information to understand the machine’s available programs and capabilities.
Once you understand the basic technique, you can explore many additional flavors using the same general approach.
7 Easy Ninja Creami Recipes to Try at Home
Once you’ve mastered vanilla ice cream, the fun really begins.
These seven Ninja Creami recipes offer something for everyone, from rich chocolate desserts to refreshing fruit sorbets and protein-packed frozen treats.
Each variation uses a standard 16-ounce Ninja Creami pint. Keep every mixture below the MAX FILL line and follow the freezing and processing instructions for your particular machine.
Classic and Chocolate Ninja Creami Recipes
1. Classic Vanilla Bean Ice Cream
Classic vanilla bean ice cream makes an excellent starting point for beginners.
Combine 3/4 cup whole milk, 1/2 cup heavy cream, 1/4 cup granulated sugar, 1 tablespoon softened cream cheese, 1 teaspoon vanilla extract, and a pinch of salt.
For a stronger vanilla flavor, add the seeds from half a vanilla bean.
Whisk until smooth, transfer to your Ninja Creami pint, and freeze for at least 24 hours.
Process using ICE CREAM until creamy.
2. Rich Chocolate Fudge Ice Cream
Chocolate lovers will appreciate this indulgent variation.
Use the original vanilla base, but reduce the whole milk to 1/2 cup. Then, add 2 tablespoons unsweetened cocoa powder and 2 tablespoons chocolate syrup.
Whisk thoroughly so the cocoa powder incorporates evenly.
Freeze for 24 hours, then select ICE CREAM.
If the mixture looks crumbly, use RE-SPIN as needed.
For an extra-chocolatey dessert, add 1 tablespoon mini chocolate chips through MIX-IN.
3. Cookies and Cream Ice Cream
For this family-friendly favorite, prepare the original vanilla base and freeze for 24 hours.
Process using ICE CREAM until smooth.
Next, make a small hole in the center and add 2 crushed Oreo cookies.
Select MIX-IN to distribute the cookie pieces throughout your ice cream.
The combination of creamy vanilla and crunchy chocolate cookies creates a classic homemade treat.
4. Chocolate Peanut Butter Ice Cream
If you enjoy chocolate and peanut butter together, this recipe makes a rich, satisfying dessert.
Prepare the classic vanilla base with 1 tablespoon unsweetened cocoa powder and 2 tablespoons creamy peanut butter.
Whisk until completely smooth, then freeze for 24 hours.
Select ICE CREAM and process until creamy.
If necessary, use RE-SPIN to improve the consistency.
For a special treat, add chopped peanut butter cups through MIX-IN.
Fruity and High-Protein Ninja Creami Recipes
5. Strawberry Cheesecake Ice Cream
For a fruity dessert with cheesecake flavor, combine:
- 1/2 cup whole milk
- 1/2 cup heavy cream
- 1/4 cup strawberry puree
- 2 tablespoons softened cream cheese
- 3 tablespoons granulated sugar
- 1/2 teaspoon vanilla extract
Blend everything until smooth and freeze for at least 24 hours.
Next, process using ICE CREAM.
Add 1 tablespoon crushed graham crackers through MIX-IN for a delicious cheesecake-inspired finish.
If you enjoy strawberry desserts, you might also love my strawberry angel cake dessert recipe. It combines fluffy cake, fresh strawberries, and creamy layers for another refreshing homemade treat.
6. Refreshing Mango Sorbet
This fruity, dairy-free option is perfect when you’re craving something refreshing.
Blend 1 cup ripe mango puree, 1/2 cup mango nectar, and 1 tablespoon granulated sugar until smooth.
Adjust the sweetness according to the ripeness of your mangoes.
Pour the mixture into your compatible pint and freeze for at least 24 hours.
Select SORBET rather than ICE CREAM.
If the texture appears crumbly, follow your model’s RE-SPIN instructions.
Serve immediately for a bright tropical dessert.
7. Vanilla Protein Ice Cream
For a protein-rich frozen treat, combine:
- 1 cup whole milk
- 1/4 cup plain Greek yogurt
- 1 scoop vanilla protein powder, approximately 25 to 30 grams
- 1 tablespoon maple syrup
- 1/2 teaspoon vanilla extract
Blend until completely smooth, transfer to your pint, and freeze for at least 24 hours.
Select LITE ICE CREAM for this lower-fat mixture.
Protein ice cream may look powdery after the first cycle. If needed, add 1 tablespoon milk and use RE-SPIN to improve the consistency.
You can also experiment with chocolate protein powder or a little peanut butter for a different flavor.
These seven homemade ice cream ideas offer plenty of ways to experiment with flavors using everyday ingredients.
Ninja Creami Tips, Common Mistakes, and Storage
Even the best Ninja Creami recipes can sometimes turn out crumbly, icy, or harder than expected.
Fortunately, a few simple techniques can make a significant difference.
Understanding how ingredients freeze and how your appliance processes them will help you achieve more consistent results.
How to Get Smooth and Creamy Ninja Creami Ice Cream Every Time
One of the most important lessons in homemade ice cream is that texture starts before you press the processing button.
First, pay attention to your ingredient balance.
Milk and cream add richness, while sugar helps keep the frozen mixture from becoming excessively hard.
If you remove too much sugar or fat, your ice cream may develop a firmer or icier consistency.
Next, freeze your mixture on a level surface. Uneven freezing can create a raised or slanted top, which may interfere with processing.
Another common problem is crumbly ice cream after the first spin.
Don’t panic if your dessert resembles powder rather than soft ice cream. This sometimes happens when your freezer keeps the mixture particularly cold or when the recipe contains less sugar or fat.
Try RE-SPIN according to your machine’s instructions. Certain lower-fat mixtures may benefit from a small splash of milk before processing again.
Finally, choose the correct program for your ingredients.
Traditional dairy-based ice cream generally works with ICE CREAM, while fruit sorbets require SORBET.
Common Ninja Creami Mistakes to Avoid and How to Store Leftovers
One mistake beginners make is treating the Ninja Creami like a regular blender.
Unlike a traditional blender, this appliance processes specially prepared frozen bases.
Never fill the container with loose ice cubes, hard frozen fruit chunks, or completely dry ingredients and attempt to crush them directly.
Also, avoid exceeding the MAX FILL line.
Overfilling may interfere with proper processing.
If your frozen base develops a raised or uneven top, follow your model’s instructions to make it level before processing.
For additional appliance troubleshooting and model-specific instructions, visit the official Ninja support center.
When storing leftovers, keep your ice cream in its compatible Ninja Creami container with the storage lid securely attached.
Return it to the freezer promptly to maintain quality.
Before refreezing, smooth the remaining ice cream into a level surface when possible.
If you want to process the leftovers again, follow your machine’s instructions.
For easy organization, label each container with its flavor and preparation date.
Although frozen desserts can remain safe for an extended period when continuously stored at 0°F (-18°C), their flavor and texture may gradually decline.
These practical tips will help you enjoy homemade Ninja Creami ice cream while avoiding common preparation mistakes.
Serving Ideas and Delicious Ninja Creami Recipe Variations
One of my favorite things about Ninja Creami recipes is how easily you can transform a simple frozen dessert into something special.
Whether you’re preparing an afternoon treat, celebrating a birthday, or serving dessert after dinner, a few thoughtful additions can make homemade ice cream even more enjoyable.
Creative Ways to Serve Homemade Ninja Creami Ice Cream
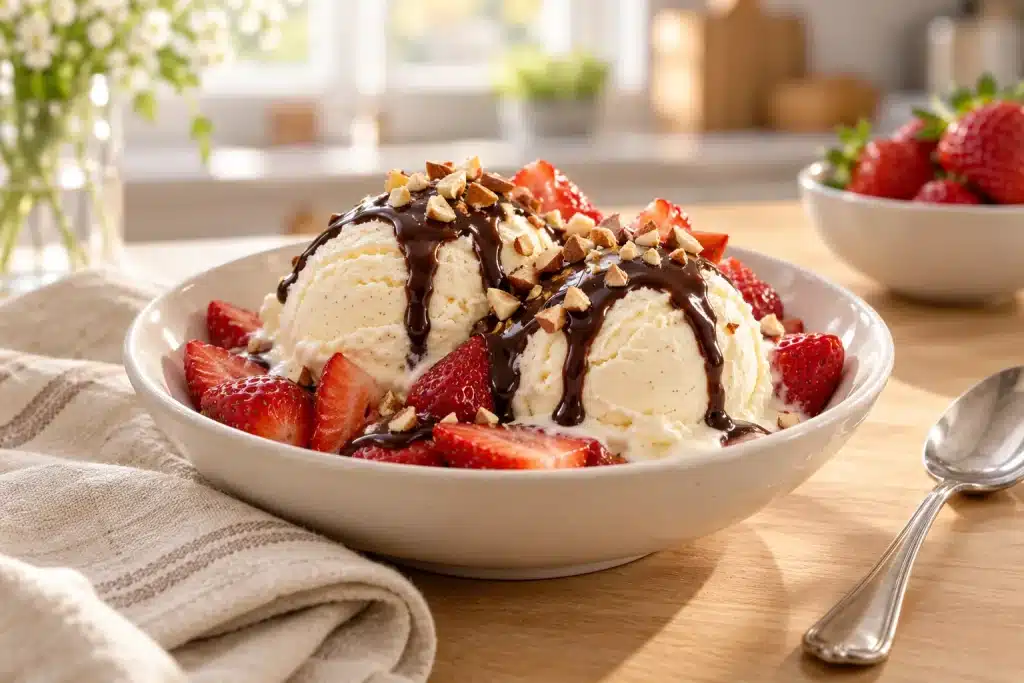
A bowl of freshly prepared vanilla ice cream tastes wonderful on its own, but toppings can make it even better.
For a classic sundae, scoop creamy vanilla ice cream into a chilled dessert bowl.
Then, drizzle chocolate sauce over the top and finish with fresh strawberries or chopped nuts.
If you’re craving something comforting, pair your ice cream with warm chocolate chip cookies or a freshly baked brownie.
I especially love the contrast between a warm dessert and a scoop of cold, creamy ice cream.
For a refreshing summer treat, serve mango sorbet with diced pineapple, fresh mint, and a squeeze of lime juice.
Alternatively, layer strawberry ice cream with sliced berries and crushed graham crackers for a simple cheesecake-inspired parfait.
You can also make homemade ice cream sandwiches by placing a scoop between two cooled cookies.
For another delicious pairing, serve vanilla ice cream alongside my impossible lemon pie recipe. The creamy vanilla flavor complements the pie’s bright citrus notes beautifully.
Dairy-Free, High-Protein, and Lower-Sugar Ninja Creami Options
Another reason to explore homemade Ninja Creami recipes is the flexibility to adjust ingredients.
For a dairy-free version, try full-fat canned coconut milk with a suitable plant-based milk and your preferred sweetener.
Coconut milk provides richness, while almond or oat milk can create a lighter base.
However, plant-based ingredients behave differently, so choose a recipe developed specifically for dairy-free frozen desserts rather than replacing ingredients without adjusting the proportions.
For a protein-rich treat, combine milk, Greek yogurt, and vanilla protein powder using a balanced recipe.
You can also experiment with chocolate protein powder or peanut butter for extra flavor.
If you prefer less added sugar, consider recipes developed for suitable alternative sweeteners.
Remember that sugar influences both sweetness and texture, so reducing it significantly may result in harder ice cream.
For nutritional comparisons, I recommend using the USDA FoodData Central database. It provides useful information about ingredients such as milk, cream, Greek yogurt, and fruit.
The best Ninja Creami recipes balance flavor, texture, and personal preference. Start with a reliable base, make small adjustments, and discover which combinations your family enjoys most.
Frequently Asked Questions About Ninja Creami Recipes
Why Don’t We Recommend Ninja Creami?
The Ninja Creami isn’t the best choice for everyone, especially if you prefer making ice cream without planning ahead.
Most homemade Ninja Creami recipes require at least 24 hours of freezing before processing.
Additionally, the machine can be loud, takes up counter space, and requires compatible containers.
However, these drawbacks don’t necessarily outweigh its benefits.
If you enjoy experimenting with homemade frozen desserts and controlling your ingredients, the Ninja Creami can still be a useful addition to your kitchen.
What Is the Best Recipe for Ninja Creami?
Classic vanilla ice cream is one of the best Ninja Creami recipes for beginners because it’s simple, versatile, and easy to customize.
Combine 3/4 cup whole milk, 1/2 cup heavy cream, 1/4 cup granulated sugar, 1 tablespoon softened cream cheese, 1 teaspoon vanilla extract, and a pinch of salt.
Mix until smooth, freeze for at least 24 hours, and process using ICE CREAM.
Once you’ve mastered vanilla, experiment with cocoa powder, crushed cookies, or strawberry puree for delicious variations.
Do You Really Have to Wait 24 Hours for Ninja Creami?
Yes, Ninja recommends freezing homemade ice cream bases for at least 24 hours before processing.
This helps the mixture freeze completely and allows the appliance to produce the intended texture.
Although the mixture may look frozen sooner, the center may not have reached the proper temperature.
However, some preparations, such as milkshakes made with store-bought ice cream, follow different instructions and don’t require the same freezing period.
For homemade ice cream bases, follow the recommended freezing time.
What Ingredients Do You Need for a Ninja Creami?
Most beginner-friendly Ninja Creami recipes use milk, heavy cream, sugar, and flavorings such as vanilla extract or cocoa powder.
Some recipes also include cream cheese for additional richness.
However, you can experiment with Greek yogurt, suitable plant-based milk, fruit puree, or protein powder.
The ideal ingredients depend on whether you’re preparing traditional ice cream, sorbet, or a protein-rich frozen dessert.
Always choose a balanced recipe that suits your appliance’s processing program.
What Not to Put in a Ninja Creami?
Never use the Ninja Creami to crush loose ice cubes, hard frozen fruit chunks, or completely dry ingredients.
Unlike a traditional blender, the appliance processes properly prepared frozen bases.
For fruit-based recipes, prepare the fruit according to a compatible recipe before freezing.
You should also avoid overfilling the container or processing a pint with a raised, uneven frozen surface.
Always follow the manufacturer’s instructions for your particular Ninja Creami model.
Is Ninja Creami Really Worth It?
The Ninja Creami can be worth the investment if you regularly enjoy ice cream and want more control over your ingredients and flavors.
It allows you to prepare traditional ice cream, fruit sorbets, and customized frozen desserts.
However, you’ll need freezer space, advance preparation, and patience with the machine’s noise.
If you only enjoy ice cream occasionally, buying a ready-made dessert might be more practical.
For enthusiastic home cooks who love experimenting, the Ninja Creami offers plenty of creative possibilities.
Conclusion: Enjoy Delicious Homemade Ninja Creami Recipes
Making homemade frozen desserts becomes much more exciting when you have a collection of Ninja Creami recipes to explore.
From rich vanilla and chocolate ice cream to refreshing mango sorbet and protein-packed treats, you can create delicious flavors with everyday ingredients.
My advice is to start with the classic vanilla recipe, learn how your machine handles different ingredients, and gradually experiment with new combinations.
Remember to freeze your mixture properly, select the correct processing program, and adjust the texture when necessary.
Growing up around American comfort food and Moroccan-inspired flavors taught me that cooking should be creative, enjoyable, and something worth sharing.
Homemade ice cream fits that philosophy beautifully.
So, grab your favorite ingredients, prepare a pint, and discover which of these easy Ninja Creami recipes becomes your family’s new favorite.
Happy cooking!
The recipe
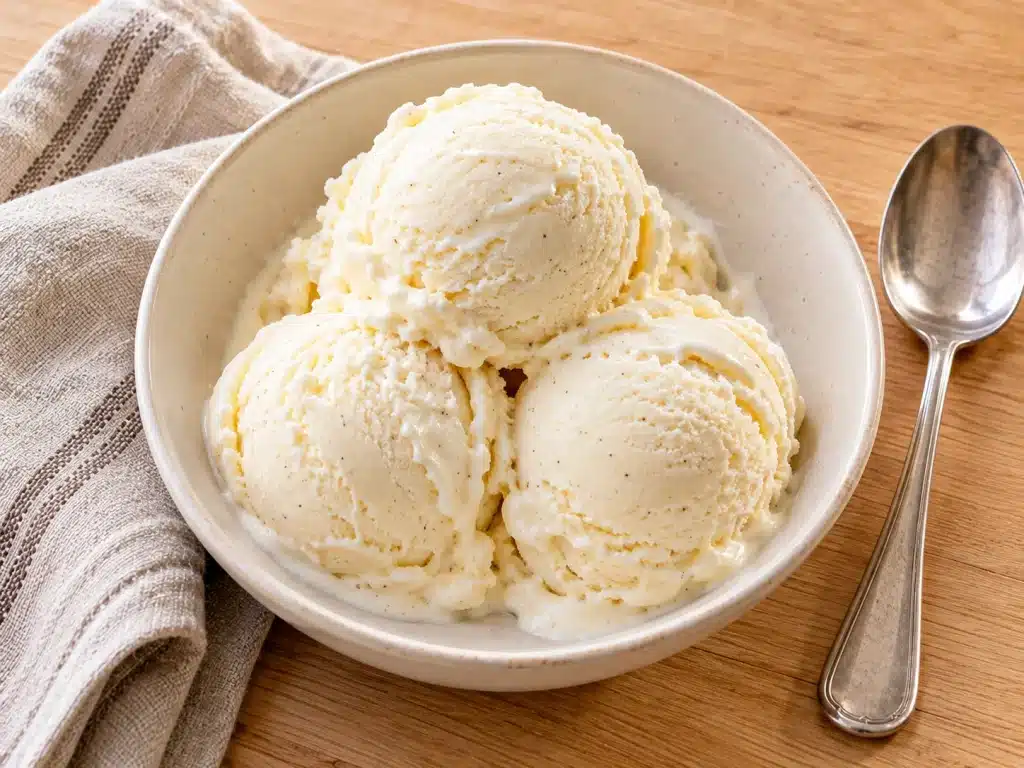
Classic Ninja Creami Vanilla Ice Cream
An easy classic Ninja Creami vanilla ice cream made with whole milk, heavy cream, sugar, cream cheese, vanilla, and salt. Prepare one standard 16-ounce pint, freeze for at least 24 hours, then process until creamy.
- Prep
- 10 minutes
- Cook
- 5 minutes
- Total
- 24 hours 15 minutes (includes at least 24 hours freezing)
- Yield
- 4 servings (1 standard 16-ounce pint)
Ingredients
Check ingredients as you go.
Instructions
- Whisk the softened cream cheese and granulated sugar in a medium mixing bowl until smooth.
- Slowly pour in the whole milk while whisking until the cream cheese mixture is evenly incorporated.
- Add the heavy cream, vanilla extract, and salt. Whisk until smooth and the sugar dissolves.
- Pour the mixture into a compatible standard 16-ounce Ninja Creami pint, staying below the MAX FILL line. Secure the storage lid.
- Set the pint upright on a level freezer surface and freeze for at least 24 hours.
- Remove the storage lid and ensure the frozen surface is level before processing. If it is raised or slanted, follow the appliance manual to level it.
- Install the pint and paddle following the instructions for your Ninja Creami model. Select ICE CREAM and run the cycle.
- If the result is crumbly, use RE-SPIN according to your model instructions. Serve immediately, or add suitable chopped mix-ins using the MIX-IN program.
Notes
Use a standard 16-ounce Ninja Creami pint compatible with your machine. Do not exceed MAX FILL or process an uneven frozen top. Freezing requires at least 24 hours. Machine processing time varies by model; 5 minutes is an approximate allowance. Estimated nutrition per serving depends on ingredient brands and excludes toppings; verify before publishing. Vanilla bean seeds or crushed cookies may be added for flavor, but these change nutrition. The cook-time allowance refers to machine processing only; no heat is used.
Nutrition
Diet: Vegetarian
- Serving size
- 1/4 of the recipe (about 4 fl oz before processing)
- Calories
- 190 kcal (estimated)
- Fat
- 13 g (estimated)
- Carbohydrates
- 18 g (estimated)
- Protein
- 3 g (estimated)
Recipe from EasyCookedRecipes.com



Around the table